
How to Photograph Trading Cards So They Sell: A Simple Guide for Sellers
PullBull TeamUpdated 9 min read
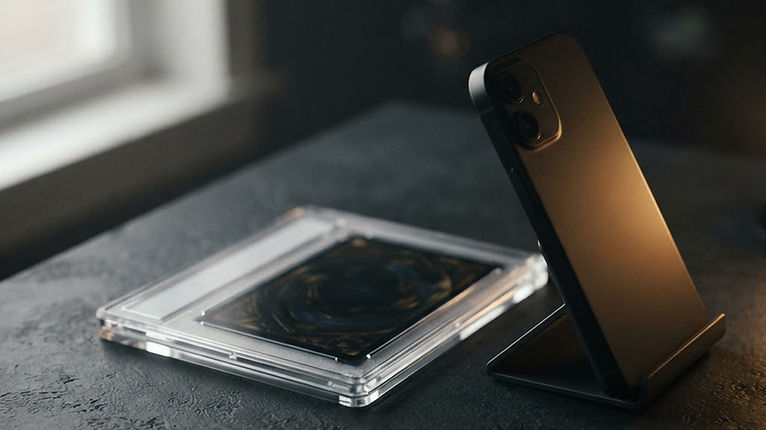
When you sell a trading card online, the photos are the card. Buyers cannot pick it up, tilt it under a lamp or feel the corners. Everything they know about condition, centering and authenticity comes from what you show them. Clear, honest photos help buyers bid with confidence, cut down on back-and-forth questions and reduce the chance of a dispute after the sale.
The good news is that you do not need a professional camera or a studio. A recent phone, a window and a few household items are enough. This guide covers how to photograph trading cards step by step, whether you sell Pokémon, sports cards, Magic: The Gathering, One Piece or anything else.
You can do all of this with things you probably already have:
Dust and fingerprints show up badly in close-up photos and can look like surface damage. Wipe the outside of sleeves, toploaders, magnetic holders and graded slabs with a microfiber cloth. Do not rub the surface of a raw card itself. If a card is in a scratched or cloudy holder, move it to a clean one before you shoot, so buyers see the card and not the plastic.
Lighting matters more than the camera. The goal is bright, soft, even light with no harsh glare.
If you see a bright reflection on a sleeve or slab, move the light or change the angle of the phone slightly until it disappears.
A dark, matte background makes the edges of the card easy to see. That matters, because buyers check edges and corners for whitening and wear. A dark background shows white edge wear clearly, which builds trust. Keep the background clean and the same across all your listings, so your store looks consistent.
For the main front and back photos:
A phone stand or a stack of books helps keep the shot steady and square. If your hands shake, use the camera timer.
Here is a simple checklist. For most cards, this set answers almost every question a buyer might ask before bidding.
For higher-value cards, add a short tilt video if the platform or your conversation with the buyer allows it. Slowly tilting the card under the light shows holo patterns and surface condition better than any still photo.
Holo, reverse holo and textured cards are the hardest to shoot, because the foil reflects light.
Holo scratches often only appear at certain angles. Showing them honestly is better than having a buyer discover them later.
Graded cards need a slightly different approach, because the label is as important as the card.
If you are not sure how grades work or what buyers look for in a graded card, our trading card condition and grading guide explains the basics.
Photos and text should tell the same story. In the description, state the card name, set, card number, language and edition if relevant, and the condition you honestly believe it is in. Point out any flaws you photographed. If you call a card Near Mint, the photos should support that. Our guide on how to spot fake Pokémon cards shows what careful buyers check, which is a good hint for what to show.
On PullBull, each seller has their own store, and buyers can follow stores and contact sellers directly. Good, consistent photos make your store look professional and help collectors trust your listings. If a buyer asks for more photos or a tilt video through the contact seller button, sending them quickly is one of the easiest ways to build a good reputation.
Paid checkout and payment protection are not active yet. Before you list or sell, use the contact seller button to agree with the buyer on packing, tracking and who pays postage. For packing tips, read how to ship trading cards safely, and to understand bidding and timed auctions, see how online card auctions work.
See how other collectors list their cards. Browse stores and timed auctions for graded and raw cards. Browse auctions on PullBull
Can I photograph trading cards with just my phone? Yes. A recent phone with good, soft light and a plain background is enough for clear listing photos. Lighting and a steady, straight-on angle matter more than the camera.
What is the best background for card photos? A dark, matte background such as black or dark gray card stock. It makes edges and corners easy to see and keeps the focus on the card.
Should I photograph cards in sleeves or toploaders? It is fine for protection, as long as the holder is clean and clear. For close-ups of corners and surface on higher-value raw cards, consider taking the card out of the toploader carefully, or offer extra photos on request.
How many photos should a card listing have? At minimum, the front and back. For anything beyond a low-value card, add close-ups of the corners, edges and surface, plus any flaws. More clear photos usually mean fewer questions.
How do I stop glare on holo cards and slabs? Turn off the flash, use soft indirect light and move the light source or tilt the phone slightly until the reflection disappears. Take one straight shot and one angled shot to show the holo.
Is it okay to edit card photos? Cropping, straightening and small brightness fixes are fine. Do not use filters, color changes or retouching that hide flaws or make the card look better than it is.
Should I include a video? For valuable or holo cards, a short tilt video is very helpful. It shows surface condition and holo patterns better than still photos.
Great card photos are not about expensive gear. Clean the holder, use soft light without flash, shoot straight on against a dark background, and show the front, back, corners, edges and any flaws. Photograph slabs so the label and cert number are readable, and keep your editing honest. Do this every time and your listings will look trustworthy, get fewer questions and give buyers the confidence to bid. When you are ready to see what collectors are listing, browse auctions on PullBull.
Related: Trading card condition and grading guide · How to ship trading cards safely · How online card auctions work · How to spot fake Pokémon cards · What is PullBull?
Browse live auctions and listings on PullBull.
Browse auctions on PullBull
Opening bids, reserves, bid increments, proxy bids, sniping and buyer's premiums explained, plus how to bid and sell smarter in online trading card auctions.

